具体搭建博客的步骤参考这些链接
http://sherlockyao.com/blog/2014/05/23/hello-blogging/
具体搭建博客的步骤参考这些链接
http://sherlockyao.com/blog/2014/05/23/hello-blogging/
http://shengmingzhiqing.com/blog/setup-octopress-with-github-pages.html/
http://www.pchou.info/web-build/2014/07/04/build-github-blog-page-08.html
http://yinkang.me/archives/194
http://sumnous.github.io/blog/2014/05/11/octopress-build-blog-on-github/
http://kejiwen.com/blog/2014/12/07/build-octopress-blog-record/
http://jekyllthemes.org/
https://github.com/imathis/octopress/wiki/3rd-Party-Octopress-Themes
http://cnbin.github.io/blog/2015/05/18/octopressbo-ke-da-jian/
http://stackoverflow.com/questions/19619280/octopress-pushing-error-to-github
发博文常用步骤
1 | cd octopress |
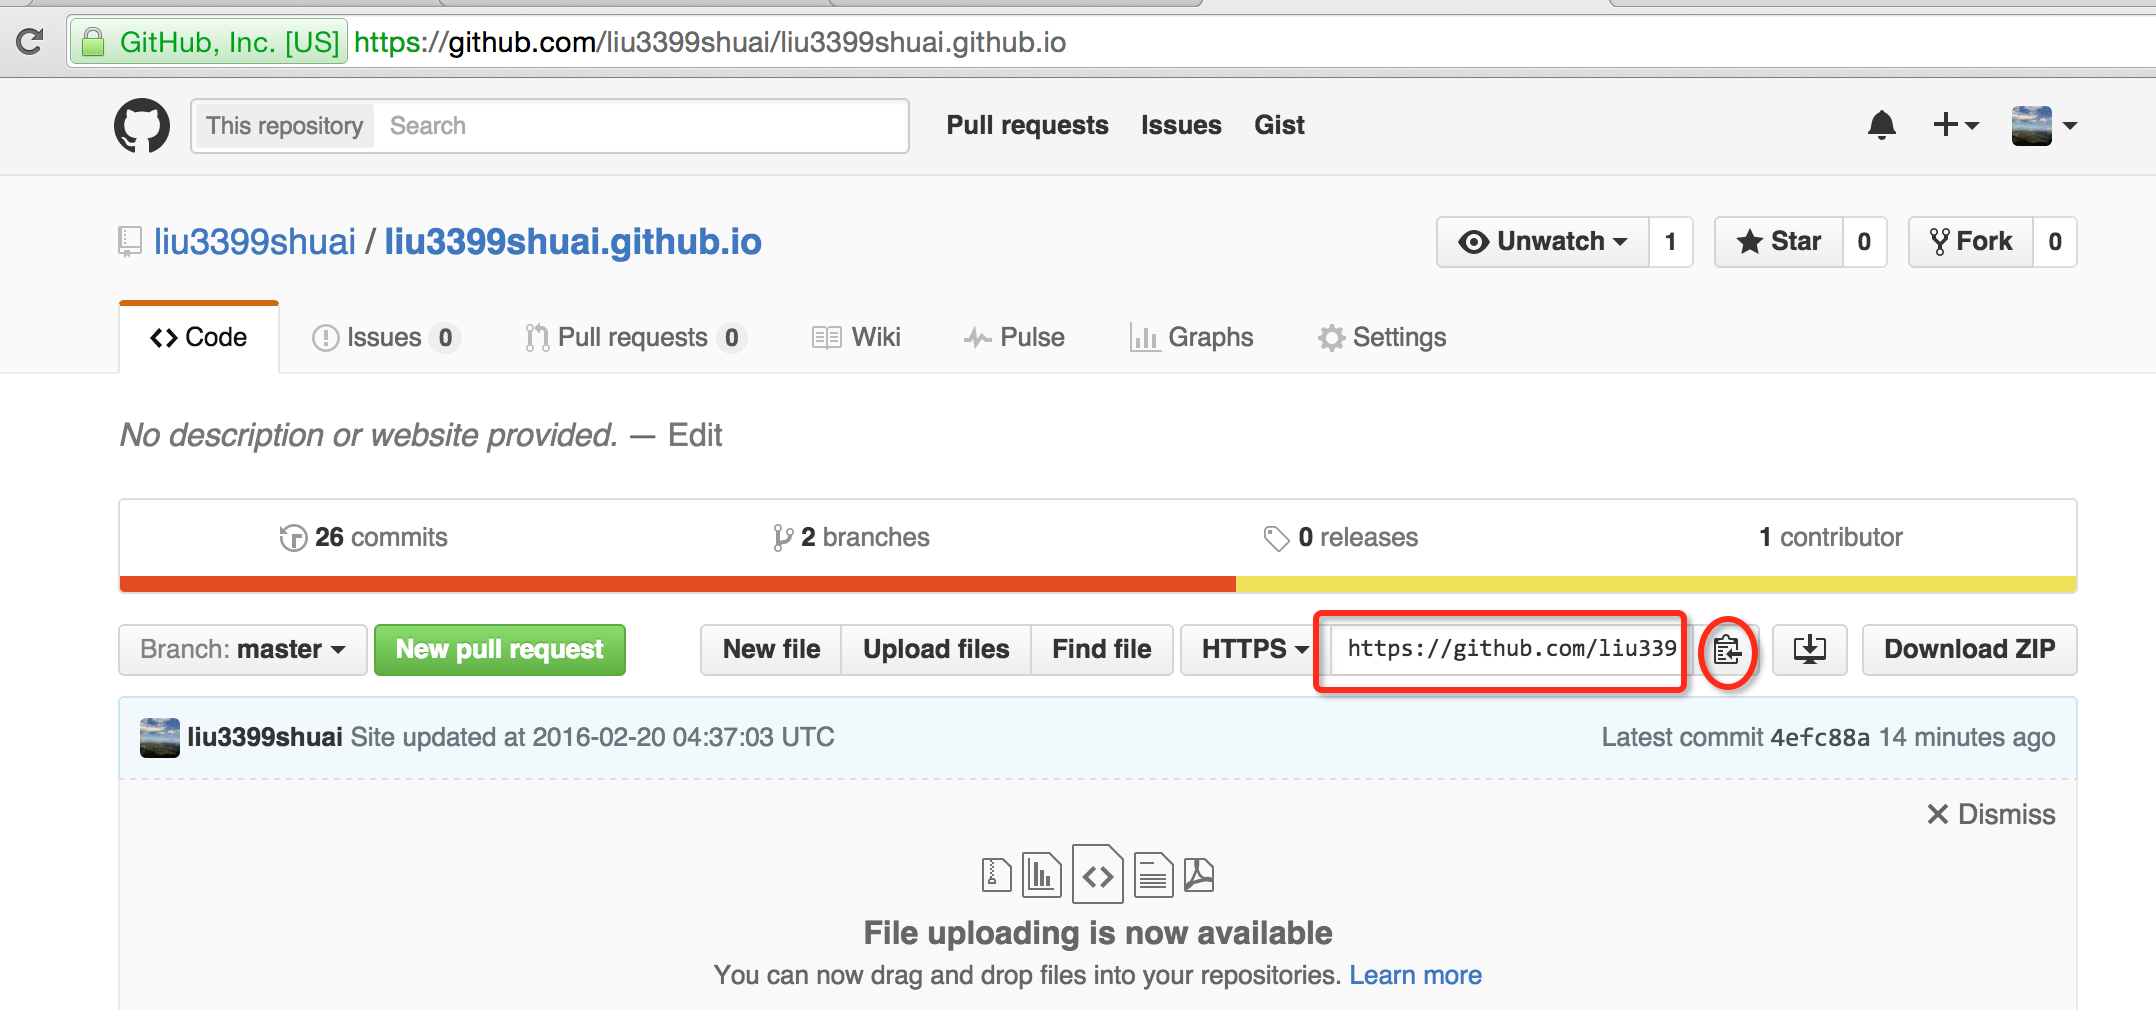
输入要链接的URL ,就是github上面仓库为XXX.github.io里面的URL,我的是https://github.com/liu3399shuai/liu3399shuai.github.io.git

新建博文
1 | rake new_post["输入博文的title"] |
完了后去source/_post里面就可以看到了
打开博文,使用markdown软件编辑,macDown 或者 Mou都可以,写完后去生成网页,发布
1 | rake generate |
这个是发布的,发布成功后,隔几秒,刷新下github-page主页
不要忘了,保留更改的source文件
1 | git commit -m'msg' |
注意问题
在走到bundle install 这一步时候,经常失败,比如原因有如下这个
1 | Don't run Bundler as root. Bundler can ask for sudo if it is needed, and |
因为国内被墙的原因,解决方案 :在执行目录下得到一个Gemfile文件,用文本编辑器打开,修改为
1 | source "https://ruby.taobao.org" |
如果在使用 rake deploy rake gen_deploy 时候报出这样的错误,需要同步一下
1 | Pushing generated _deploy website |
同步命令
1 | cd _deploy |
或者我的网站 https://github.com